
How I Built a Local AI Transcription App with Whisper and Llama
Jun 26, 2026
ai · side-project
You can find the complete source code in the local transcriber GitHub repository.
Tech Stack
- Python
- FastAPI
- React
- TypeScript
- Vite
- Tailwind CSS
- Whisper large-v3
- Llama 3.1 8B
- pywhispercpp
- llama-cpp-python
- Apple Metal (Apple Silicon)
I went to an AI conference a couple of months ago and found myself taking notes via voice memos on the drive to the conference center. After a couple of days of doing this, I thought to myself, “man, it’s going to be a huge pain to listen to these recordings and transcribe them all by hand.”
Then, after being steeped in AI talks for days, I realized this is the perfect job for an open-weight model.
Sure, I could just toss my audio file up to any of the big AI services, but that wouldn’t be any fun!
The Goal
My goal was quite simple: create a web app that uses open-weight models to transcribe and summarize my long voice memos.
The web app portion is easy peasy but I had no clue how open-weight models even worked when I had this idea.
That’s when I conducted thorough and intense research!

What is an Open-Weight Model and Where Do I Find One?
What they are
Open-weight models as described by HAI Stanford are:
An Open-Weight Model is an AI model whose core components are publicly released, allowing anyone to download it. This lets users run the model on their own computers, study how it works, and even modify it for their own specific needs.
OK, cool, but what the heck are “weights”?
Again, our trusty HAI Stanford resource has an answer:
Weights are the numerical parameters within a neural network that determine the strength of connections between artificial neurons and ultimately shape how the model processes information. During training, these weights are continuously adjusted through algorithms like backpropagation to minimize errors and improve the model’s predictions. The learned weights represent the model’s “knowledge”—a trained AI model is essentially a specific configuration of billions of these weight values that encode patterns discovered from training data.
Where to find them
Hugging Face is a great place to find models. That’s where I downloaded all of mine for this project:
What Models I Used and Why
I used two different models, one for transcription and one for summarization:
- Whisper large-v3 for transcription
- Llama 3.1 8B for summarization
Whisper models are published by OpenAI and are a solid go-to for transcription. Large-v3 is honestly probably overkill for this project. It’s more accurate than Whisper medium or small but at the cost of speed and resources.
Llama 3.1 8B is a small general LLM that is published by Meta and well suited for basic summarization tasks like this.
Note: If you want to download the Llama model, you’ll either need to convert it to GGUF format yourself or find a GGUF version online. Since this project uses llama.cpp through llama-cpp-python, it expects the model to be in GGUF format. For example, for Llama 3.1 8B, you could use https://huggingface.co/bartowski/Meta-Llama-3.1-8B-Instruct-GGUF
The Implementation
There are two main Python packages that make this whole thing a breeze:
- pywhispercpp - A Python wrapper for the Whisper C++ library (i.e. how we can easily get access to the Whisper models without manually downloading them)
- llama-cpp-python - A Python binding for llama.cpp. This is what enables the project to run Llama models on Apple Metal for increased performance
Since I have a MacBook with Apple Silicon, I’m able to leverage the GPU for model tasks instead of just the CPU. This makes the process a lot faster.
That said, you can run these models on any machine with just a CPU. It’ll just take longer to process and probably cause your computer to turn into a space heater.
Transcription
Setting up the model for transcription is incredibly simple with pywhispercpp:
from pywhispercpp.model import Model

class Transcriber:
    def __init__(self, model_size: str = "large-v3"):
        cpu_count = os.cpu_count() or 4
        n_threads = max(1, cpu_count // 2)
        self._model = Model(model_size, n_threads=n_threads)
Basically, just set the model size you want, set the max number of threads to use for CPU tasks, and you’re off to the races.
I opted for using half of the available CPU threads on my machine, but feel free to adjust this to your liking.
Once the model is initialized, we simply call self._model.transcribe() with the path to the audio file and a callback function to track progress:
def transcribe(
        self,
        audio_path: Path,
        progress_callback: Callable[[int], None] | None = None,
    ) -> str:
        _f = mutagen.File(str(audio_path))
        total_cs = int(_f.info.length * 100) if _f is not None else 0

        transcript_parts: list[str] = []

        def on_segment(segment):
            transcript_parts.append(segment.text.strip())
            if progress_callback and total_cs > 0:
                progress_callback(int(min(segment.t1 / total_cs, 1.0) * 80))

        self._model.transcribe(str(audio_path), new_segment_callback=on_segment)

        if progress_callback:
            progress_callback(80)

        return " ".join(transcript_parts)
Summarization
Summarization is also very simple with some slight differences.
First, we have to manually download the model and store it locally.
Then, since we are using a general LLM, we have to supply a system prompt to guide the model on what to do:
MODEL_PATH = Path(__file__).parent / "models" / "Meta-Llama-3.1-8B-Instruct-Q4_K_M.gguf"

SYSTEM_PROMPT = "You are a helpful assistant that summarizes transcripts concisely."

USER_TEMPLATE = (
    "Summarize the following transcript in clear, concise paragraphs:\n\n{transcript}"
)

MAX_WORDS = 5_000
We then take these constants and build the full system prompt using a syntax that Llama models expect:
def _build_prompt(transcript: str) -> str:
    words = transcript.split()
    if len(words) > MAX_WORDS:
        transcript = " ".join(words[:MAX_WORDS])

    return (
        f"<|begin_of_text|><|start_header_id|>system<|end_header_id|>\n\n{SYSTEM_PROMPT}<|eot_id|>"
        f"<|start_header_id|>user<|end_header_id|>\n\n{USER_TEMPLATE.format(transcript=transcript)}<|eot_id|>"
        f"<|start_header_id|>assistant<|end_header_id|>\n\n"
    )
Just like the Whisper model initialization, Llama makes it simple:
class Summarizer:
    def __init__(self):
        self._llm = Llama(
            model_path=str(MODEL_PATH),
            n_ctx=8192,
            n_gpu_layers=-1,
            verbose=True,
        )
You can see we’re specifying the model, the total token context (n_ctx=8192), and the number of GPU layers.
The verbose=True parameter just provides detailed logs while the model is running.
Finally, we call the LLM with our system prompt and transcript:
def summarize(self, transcript: str) -> str:
    prompt = _build_prompt(transcript)
    output = self._llm(
        prompt,
        max_tokens=1024,
        temperature=0.3,
        stop=["<|eot_id|>"],
    )
    return output["choices"][0]["text"].strip()
Temperature is pretty low here because I don’t want the LLM to get too creative with its summarization. It should be creative enough to get the meaning across but not so much that it embellishes or changes the meaning.
Endpoints
The app is built using FastAPI and has a few endpoints:
/transcribe- POST endpoint that accepts an audio file and returns a transcript. It is the main endpoint used by the frontend./summarize- POST endpoint that accepts a transcript and returns a summary/status/{job_id}- GET endpoint that returns the status of a job/download/{job_id}- GET endpoint that returns the result of a job
Essentially we’ve got a queue system where you can submit a job and then check on its status. Once the job is complete you can download the result. To keep things light I’m not going to go into the details of the queue system, but you can find the code in main.py.
The Frontend
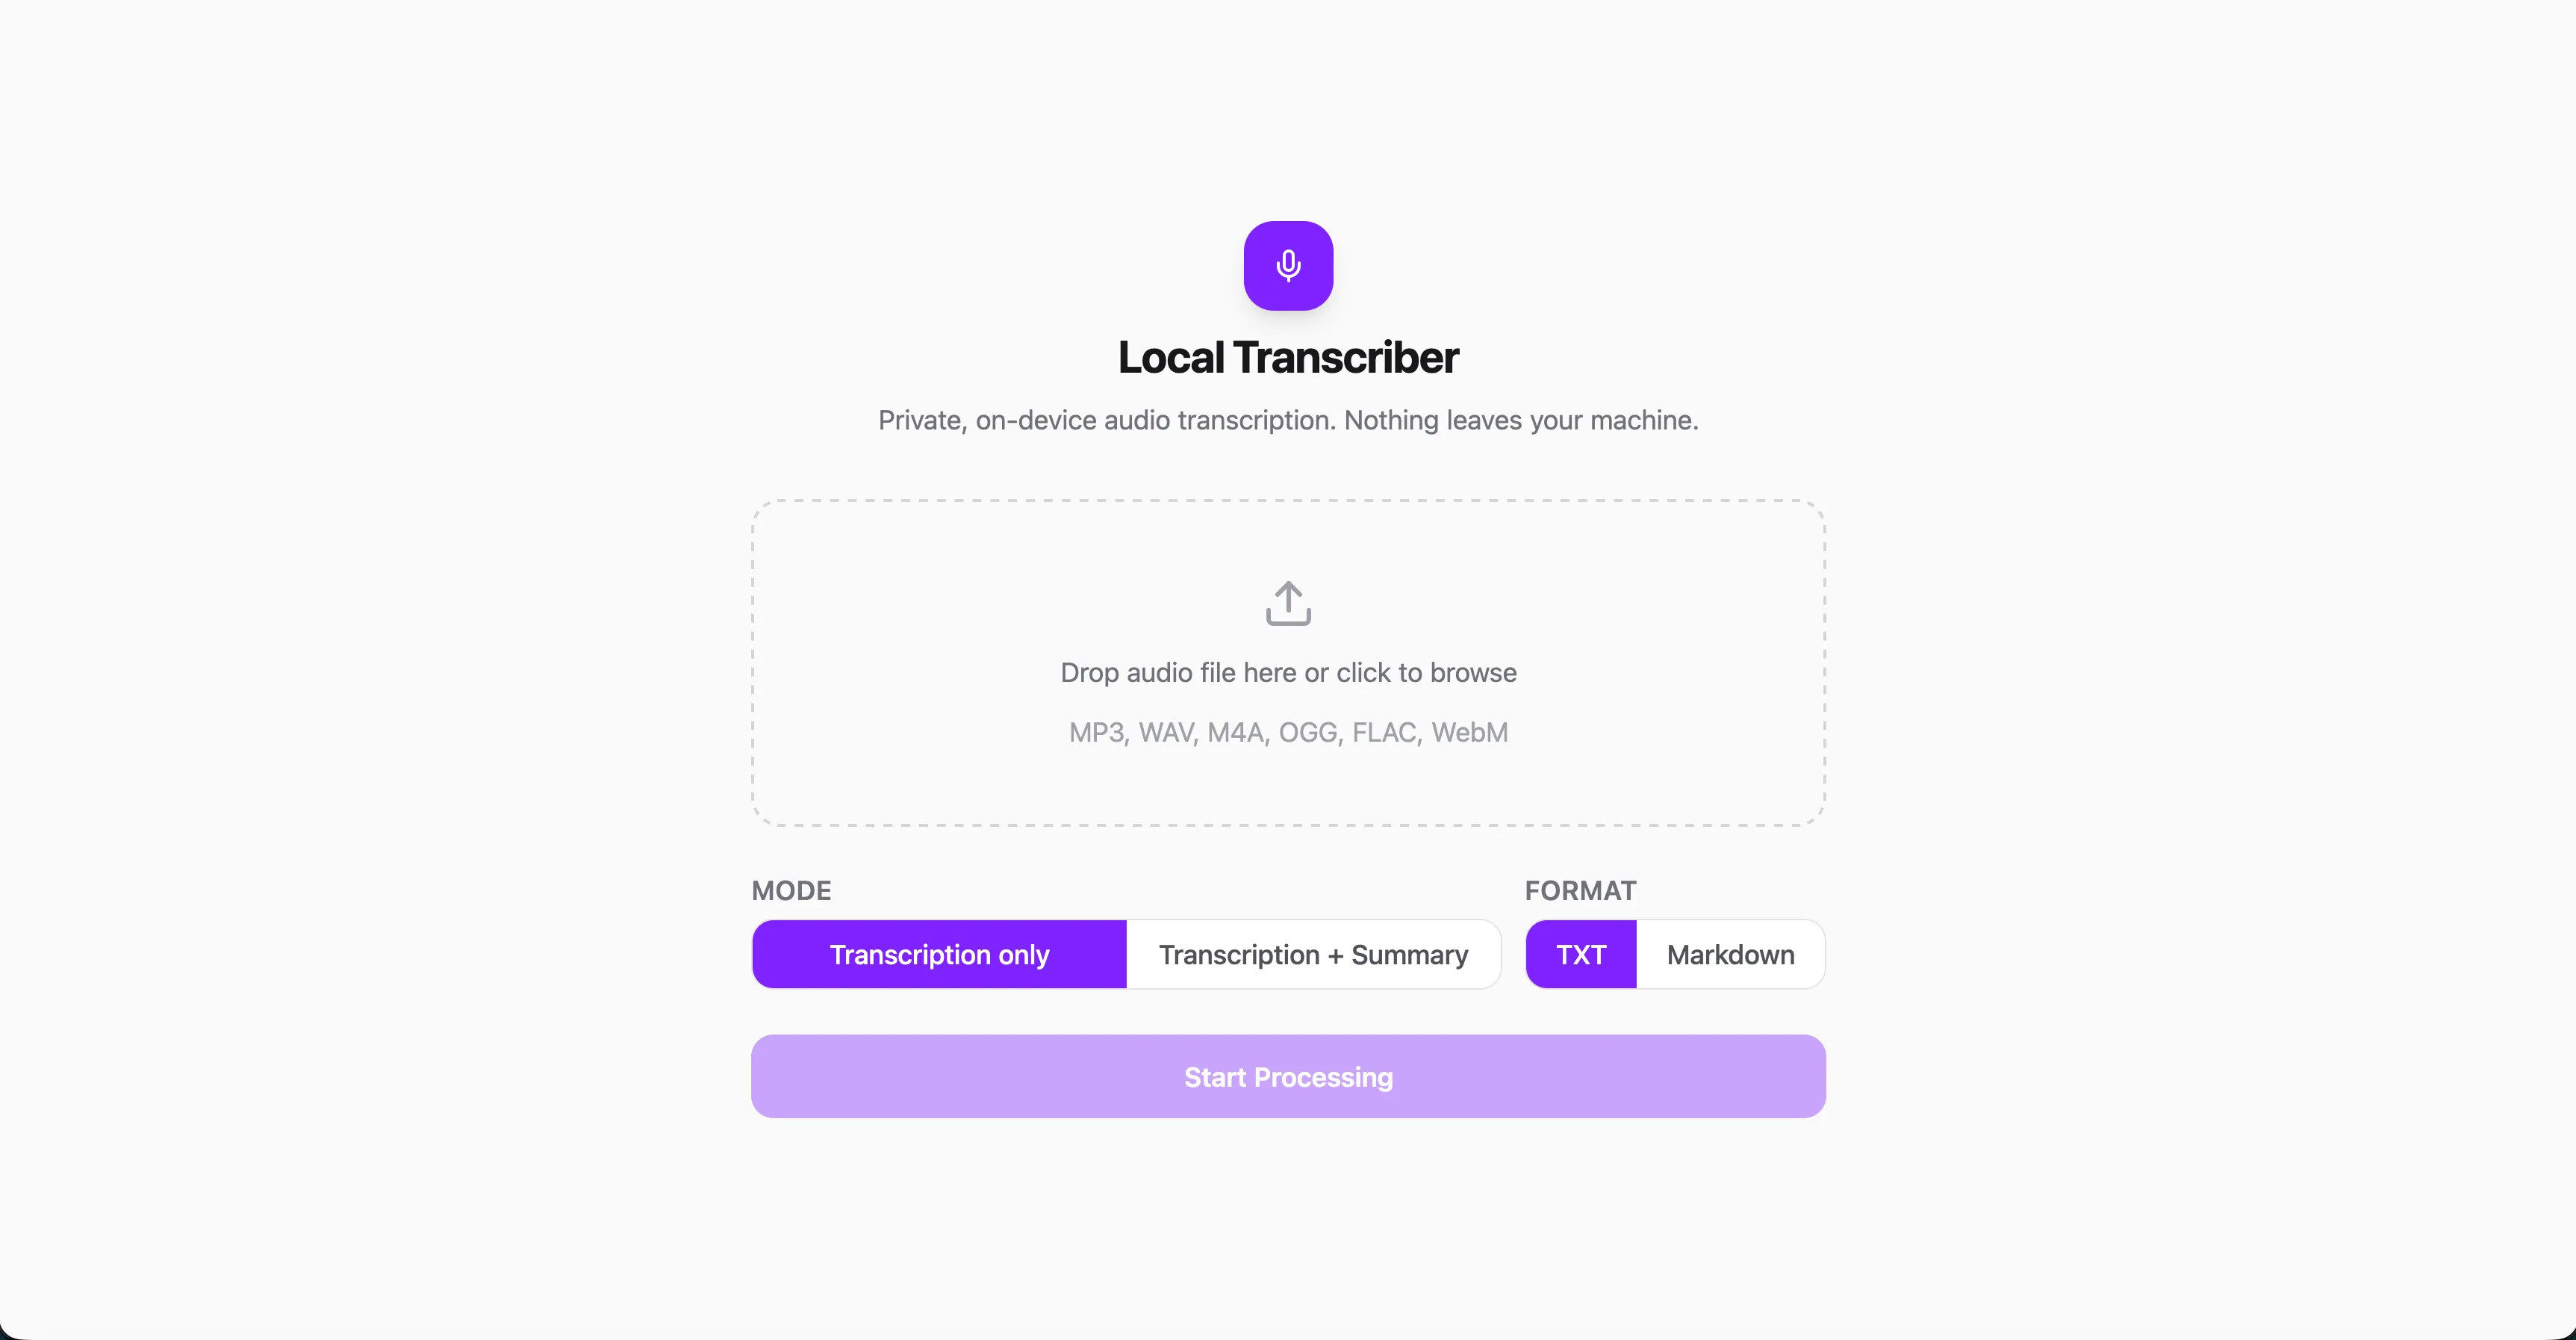
There’s not much to say about the frontend. It’s a simple Vite application using React, TypeScript, and Tailwind CSS with a few components.
It calls the main /transcribe endpoint with the audio file, what file type the user specified, and whether or not they want summarization.
const handleSubmit = async (
    file: File,
    outputFormat: OutputFormat,
    summarize: boolean,
  ) => {
    setErrorMsg(null)
    const form = new FormData()
    form.append('audio', file)
    form.append('output_format', outputFormat)
    form.append('summarize', String(summarize))

    try {
      const res = await fetch(`${API}/transcribe`, { method: 'POST', body: form })
      if (!res.ok) {
        const err = await res.json()
        const detail = err.detail
        let message = 'Upload failed'

        if (typeof detail === 'string') message = detail
        else if (Array.isArray(detail)) message = detail.map((e: { msg: string }) => e.msg).join(', ')

        throw new Error(message)
      }
      const data = await res.json()
      setJobId(data.job_id)
      setAppState(AppState.Processing)
    } catch (e: any) {
      setErrorMsg(e?.message || 'Upload failed')
      setAppState(AppState.Error)
    }
  }
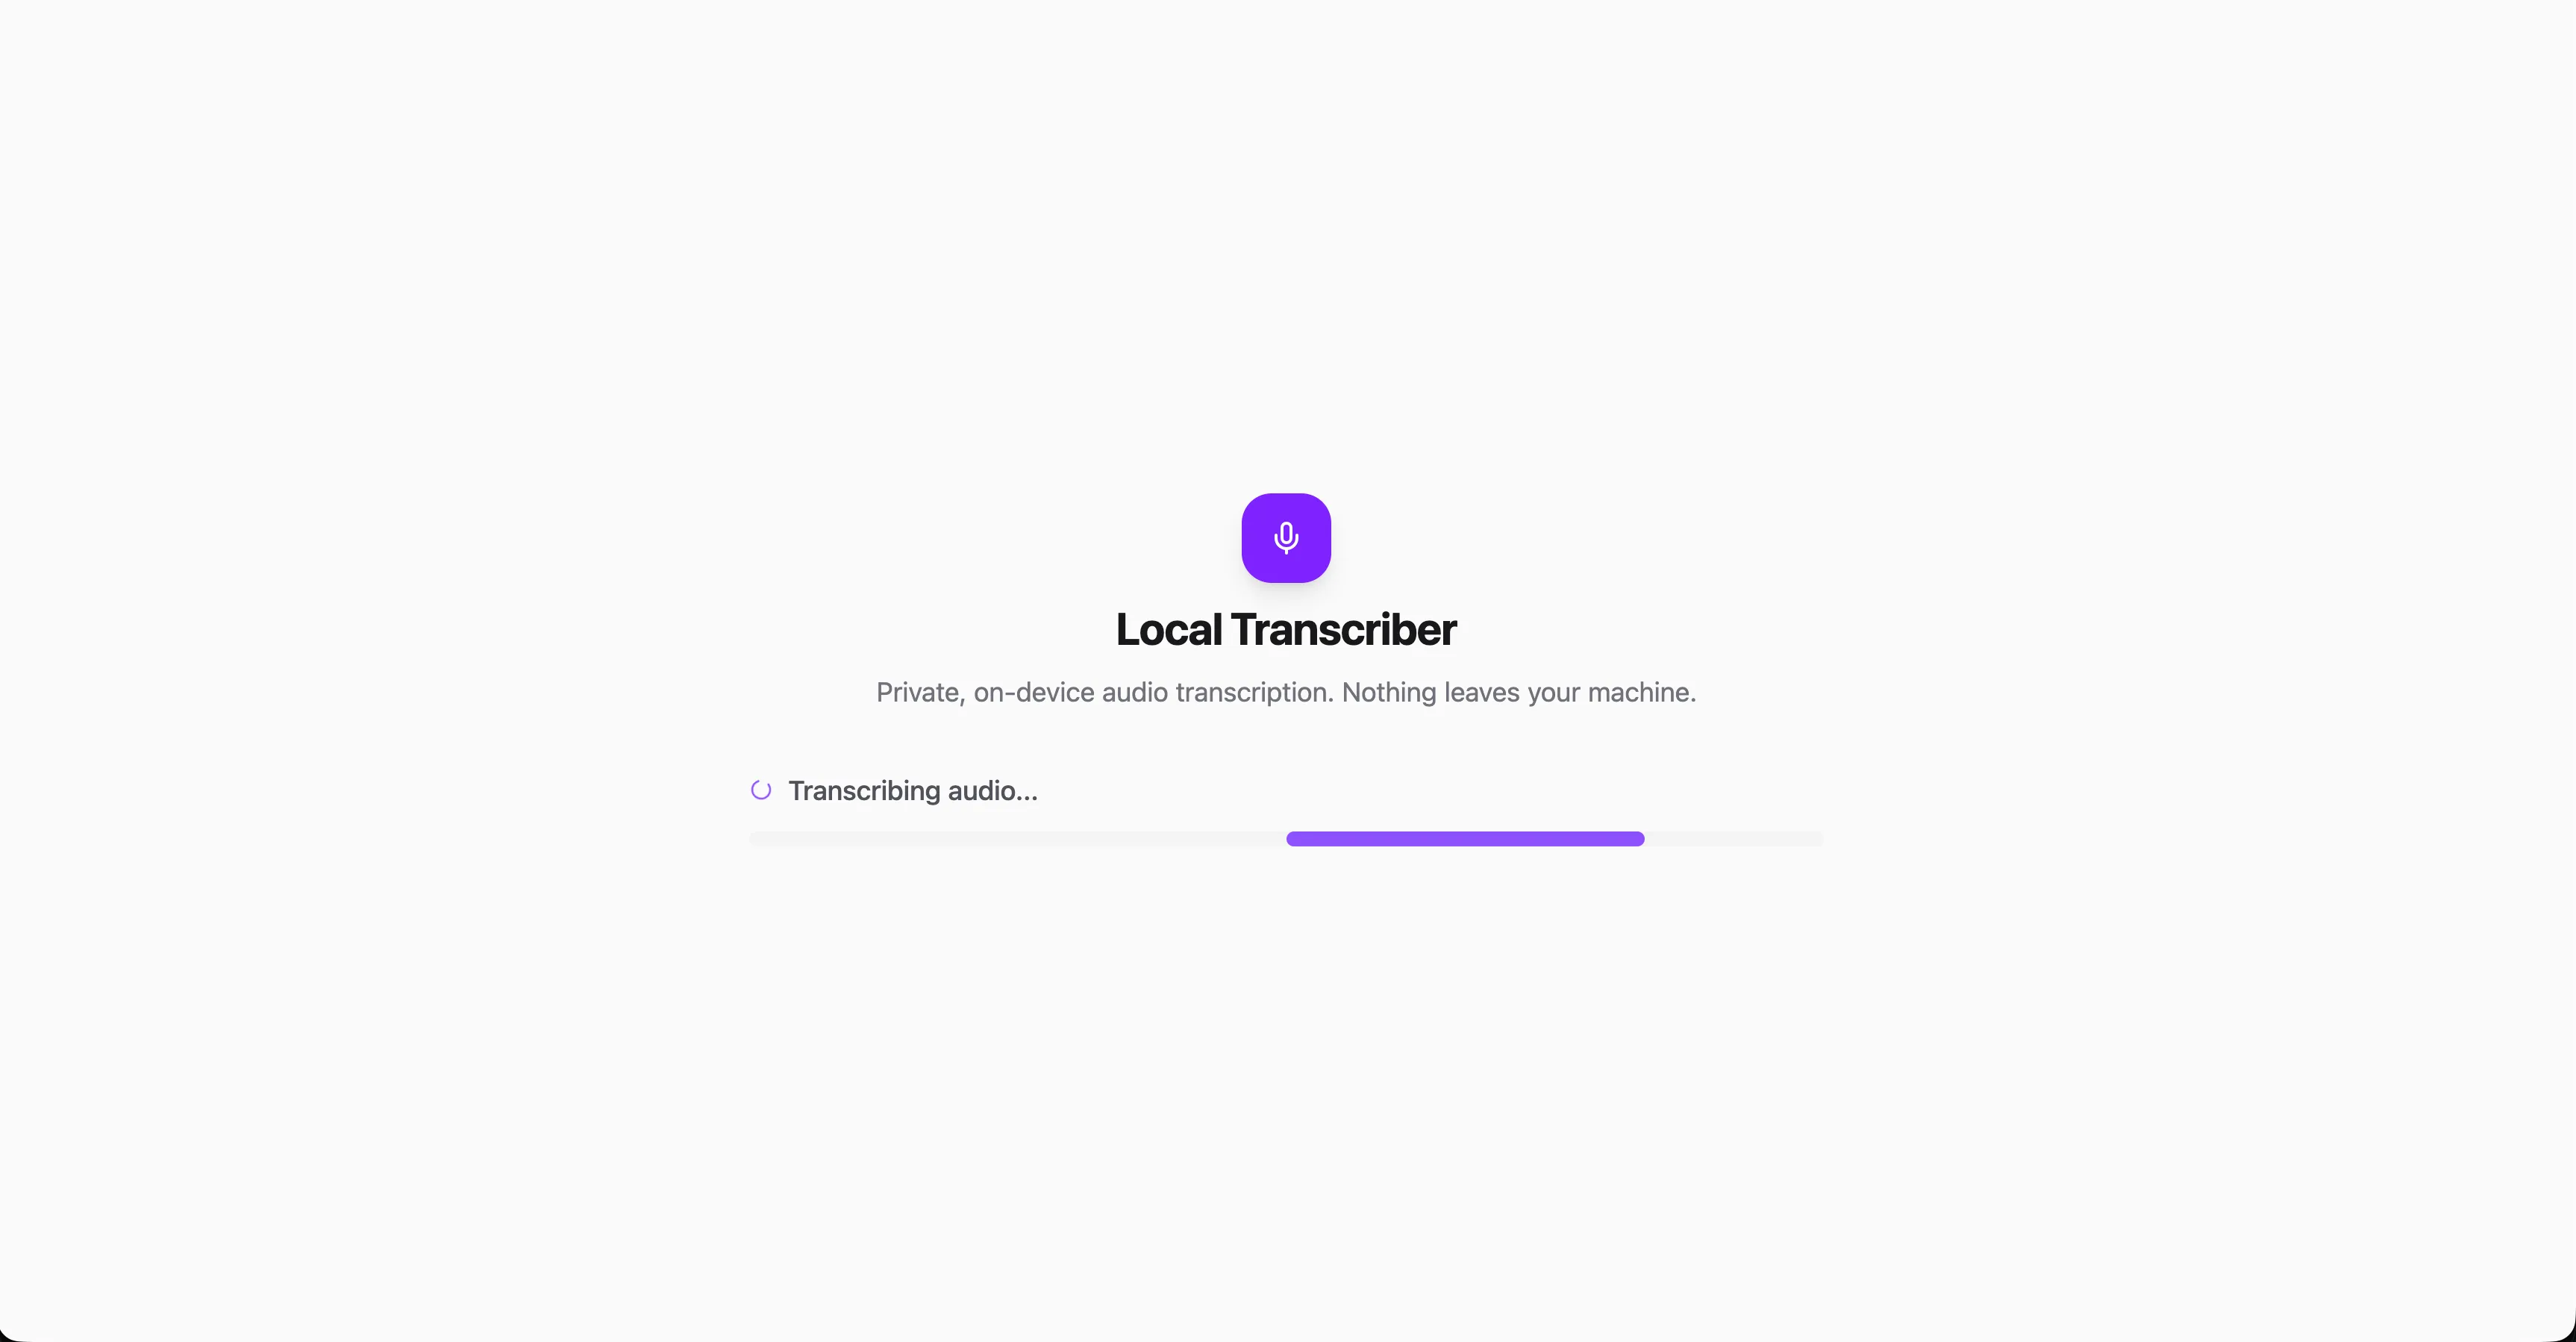
Once that request is sent, the frontend polls the /status endpoint:
useEffect(() => {
    let timer: ReturnType<typeof setTimeout>
    let cancelled = false

    const poll = async () => {
      try {
        const res = await fetch(`${API}/status/${jobId}`)
        if (cancelled) return
        if (!res.ok) {
          onError('Job not found')
          return
        }
        const data: StatusResponse = await res.json()
        if (cancelled) return
        setStatus(data.status)

        if (data.status === 'complete') {
          onComplete()
          return
        }
        if (data.status === 'error') {
          setErrorMsg(data.error ?? 'Unknown error')
          onError(data.error ?? 'Unknown error')
          return
        }

        timer = setTimeout(poll, 2000)
      } catch {
        if (!cancelled) timer = setTimeout(poll, 3000)
      }
    }

    poll()
    return () => {
      cancelled = true
      clearTimeout(timer)
    }
  }, [jobId])
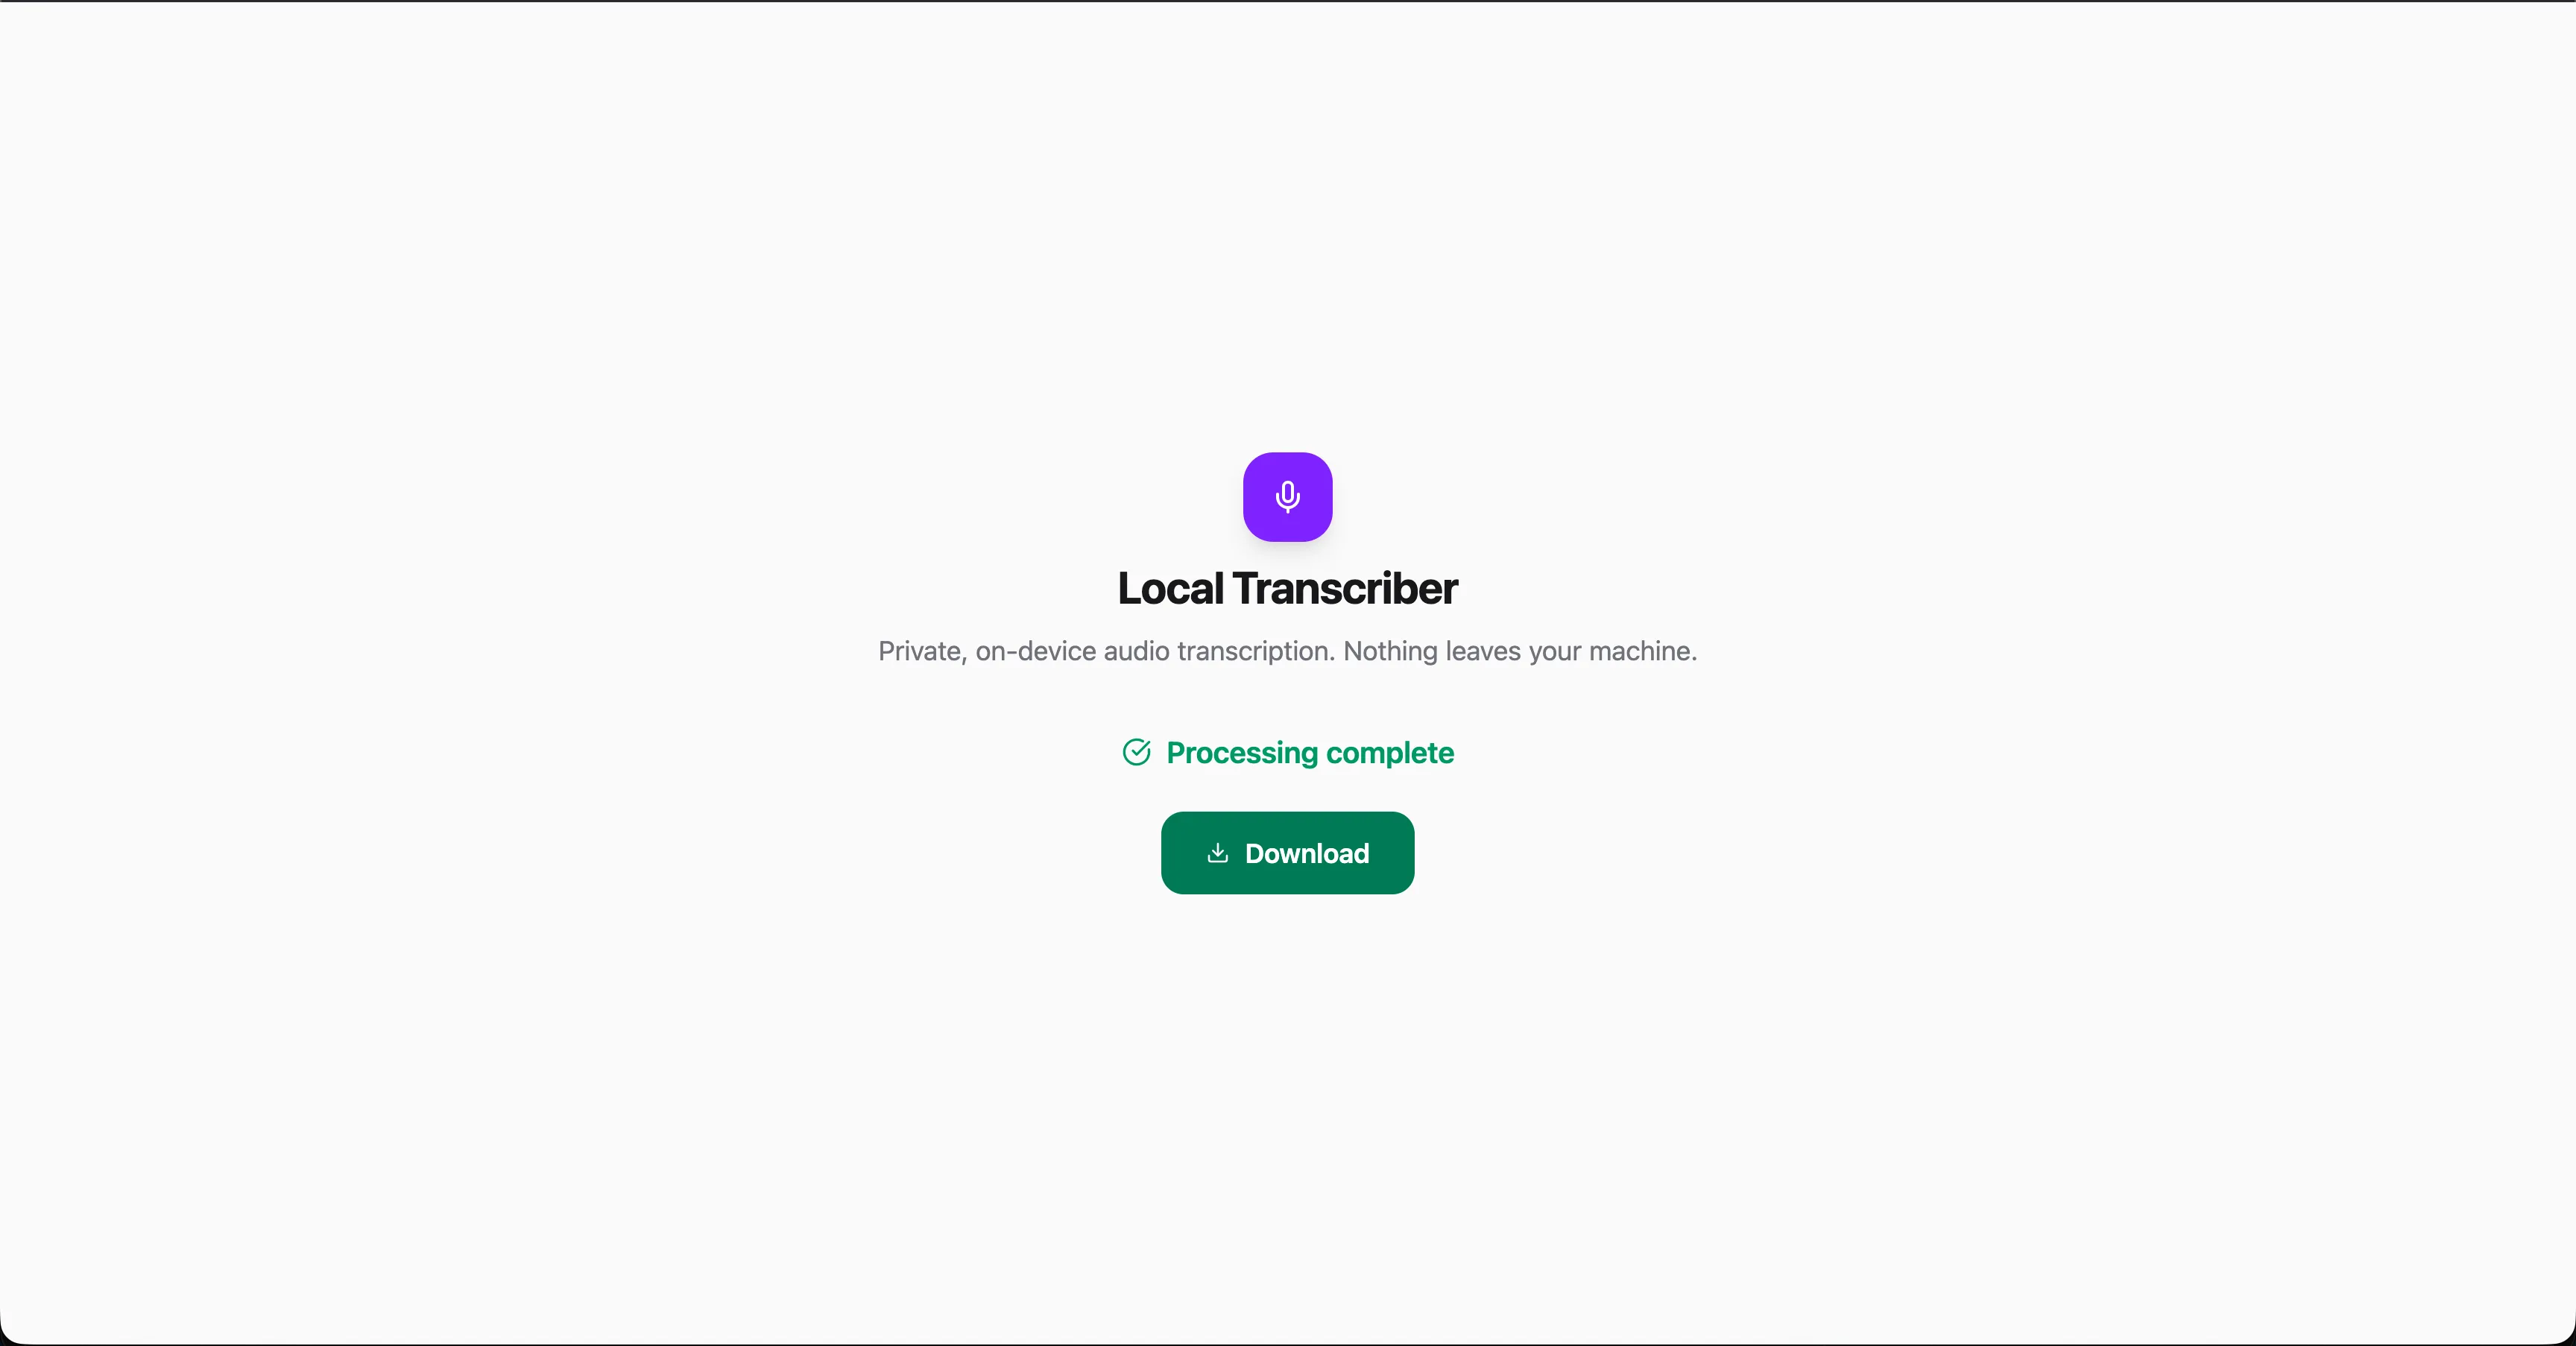
Then finally, once transcription and summarization are complete, /download is called on button click:
const handleDownload = async () => {
    setDownloading(true)
    setDownloadError(null)
    try {
      const res = await fetch(`${API}/download/${jobId}`)
      if (!res.ok) throw new Error('Download failed')

      const disposition = res.headers.get('content-disposition') ?? ''
      const match = disposition.match(/filename="?([^"]+)"?/)
      const filename = match?.[1] ?? 'output.txt'

      const blob = await res.blob()
      const url = URL.createObjectURL(blob)
      const a = document.createElement('a')
      a.href = url
      a.download = filename
      a.click()
      URL.revokeObjectURL(url)

      setDownloaded(true)
    } catch (e: unknown) {
      setDownloadError(e instanceof Error ? e.message : 'Download failed')
    } finally {
      setDownloading(false)
    }
  }
Conclusion
And there you have it!
As you can see, you can build a pretty powerful application with a couple of light open-weight models.
There are a plethora of models available on Hugging Face with all sorts of capabilities.
The model is your oyster or something like that…
Stay curious!